Blog
Hot Chocolate Bombs: The Perfect Recipe
As the leaves turn and the air grows crisper, there’s nothing quite like snuggling up with a steaming cup of hot chocolate. Elevate your cocoa experience with a delightful twist: hot chocolate bombs! These delightful spheres of chocolate magic not only make a stunning presentation but also create a tantalising, interactive experience. Join us on a journey to discover the secrets of crafting the perfect hot chocolate bombs.
The Ingredients: Crafting Chocolatey Perfection
- High-Quality Chocolate: Start with the finest chocolate you can find. Whether it’s dark chocolate, milk chocolate, or white chocolate, choose a variety that you enjoy for the base of your hot chocolate bomb.
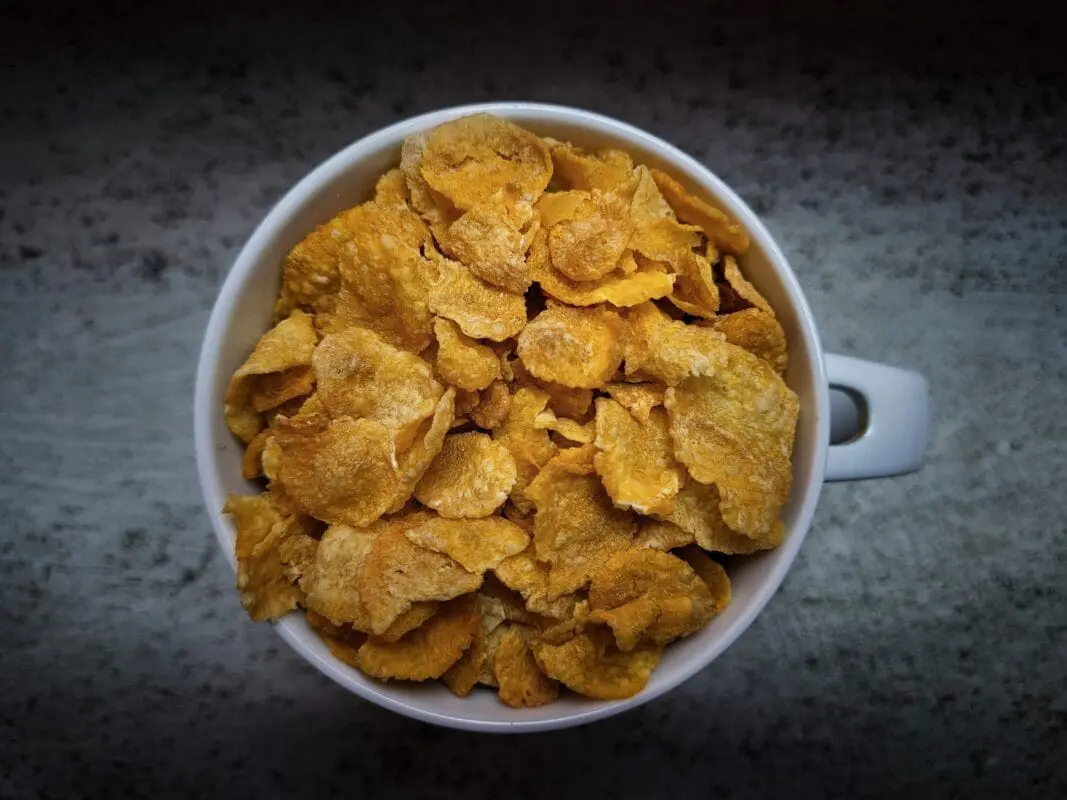
- Hot Chocolate Mix: Opt for a premium hot chocolate mix to ensure a rich and flavourful experience. You can also experiment with unique flavours like salted caramel or peppermint for a special touch.
- Marshmallows: Mini marshmallows add a sweet, pillowy surprise that will melt hearts along with the chocolate shell.
- Optional Flair: Edible glitter, crushed peppermint, or sprinkles can add a festive touch and make your hot chocolate bombs stand out.
The Equipment: Tools of the Trade
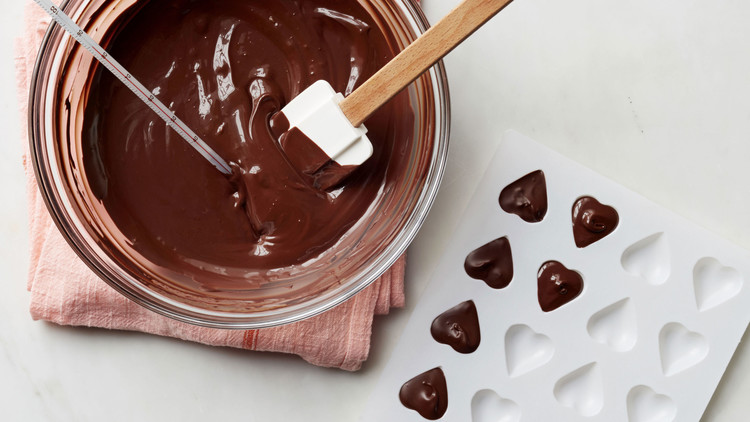
- Silicone Semi-Sphere Moulds: These are the key to achieving that perfect spherical shape. Ensure they are clean and dry before you begin.
- Pastry Brush: Use a good-quality brush to coat the moulds with melted chocolate evenly.
- Palette Knife: This tool will help you remove excess chocolate and create a smooth finish on your hot chocolate bombs.

The Step-by-Step Guide: Crafting Hot Chocolate Bomb Perfection
Step 1: Coating the Moulds
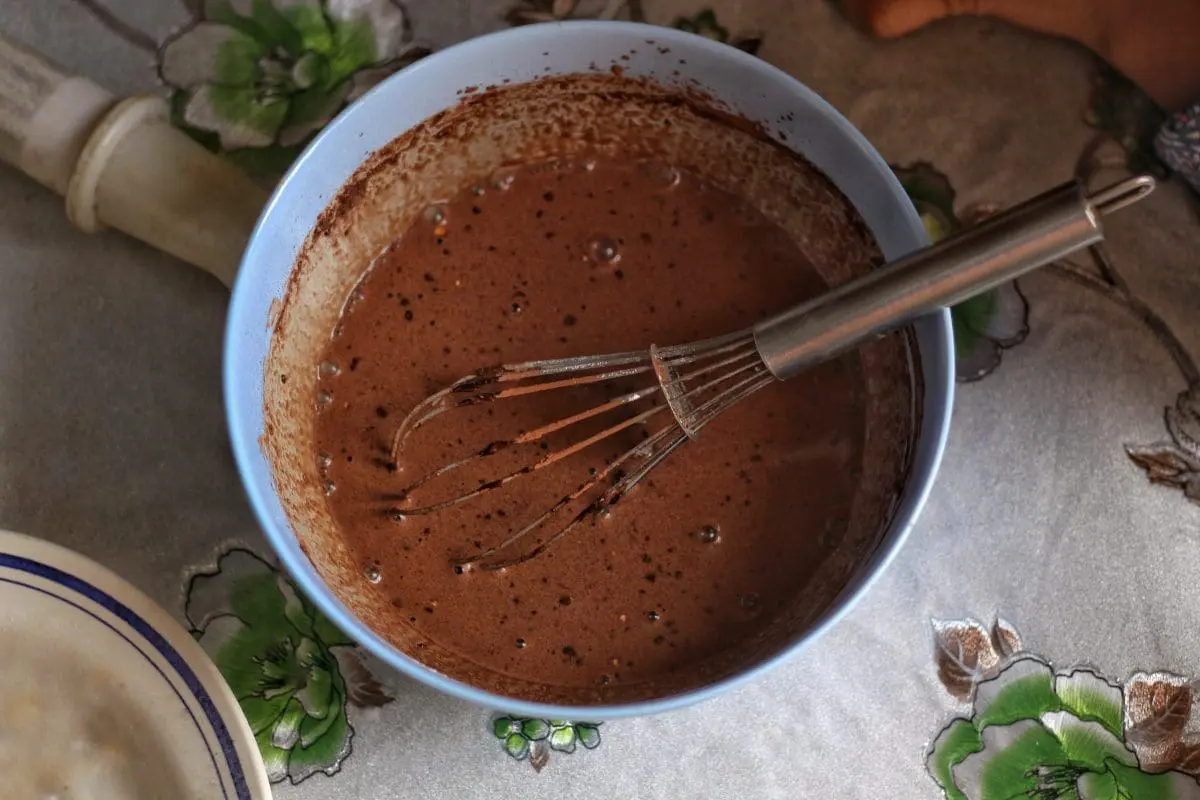
Arrange 12 silicone semi-sphere moulds (ours were 7cm) flat on a baking tray. Using a pastry brush, generously coat the inside of the moulds with melted chocolate, ensuring they are all well-covered. Precision is not crucial at this stage.
Step 2: Setting the First Layer
Turn the moulds upside down and shake off excess chocolate onto a sheet of baking parchment. Scrape the top gently using a palette knife. Return the moulds to the baking tray and place them in the fridge for 10 minutes to allow the first layer to set completely. If your remaining melted chocolate has solidified, give it a quick burst in the microwave to melt again.
Step 3: Applying the Second Layer
Brush on a second layer of chocolate in the moulds, ensuring even coverage. Place the moulds flat on the baking tray and allow them to set in the fridge for 1 hour or overnight. Once set, carefully remove the chocolate shells from the moulds by peeling back one side, and prepare to assemble by gathering your hot chocolate and marshmallows.
Step 4: Assembling the Bombs
Heat a frying pan over high heat for 1 minute until hot. Remove it from the heat and briefly place one of the chocolate spheres onto it. Fill it with 1 teaspoon of hot chocolate powder and 1 tablespoon of marshmallows. Quickly place another one of the chocolate spheres on the warm frying pan, and press both spheres together to form a filled ball. Repeat this process until you have six filled hot chocolate bombs.
Step 5: Adding the Finishing Touches
To enhance the presentation, dust each bomb with edible gold lustre. Heat up a mug of milk and stir in the hot chocolate bomb to serve.
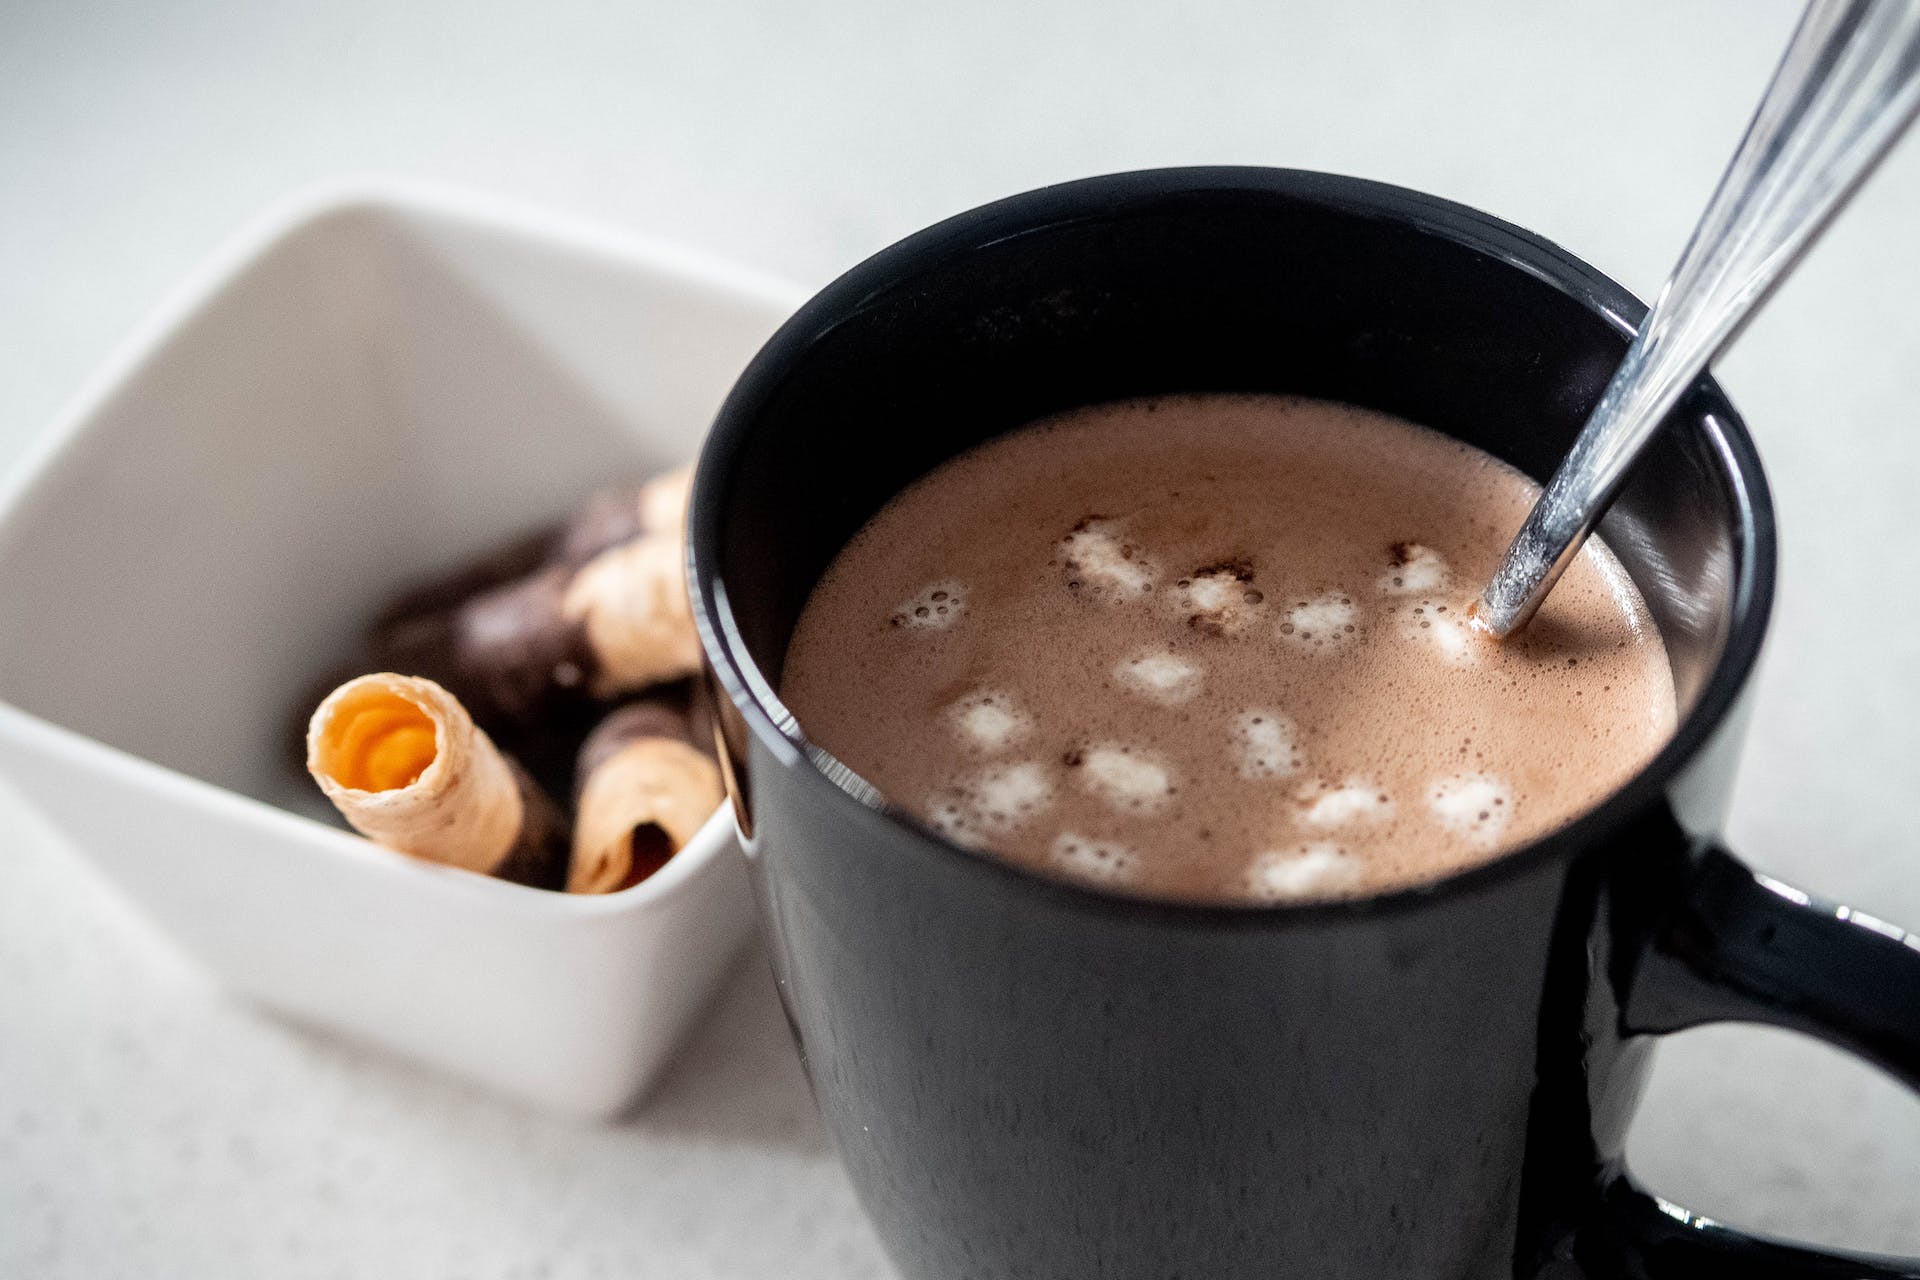
Step 6: Enjoy!
Heat up a mug of milk and gently drop your hot chocolate bomb in. Watch as it dissolves, releasing a burst of rich cocoa and marshmallow goodness.